“The money is in the list” is something you’ll hear and read every now and again as you learn more about growing your online business. This is why you come across so many popups in websites, offering you a discount, promo, or product, in exchange for signing up for their newsletter. And the saying really does hold water; especially if you charge people for being in that list.
However, as easily as you can get people in your list, it’s as easy for them to leave it. This is why you step up your email marketing campaigns with better newsletters. The problem? Some people end up finding your emails annoying because of the frequency or useless because it doesn’t relate to them. So make smarter campaigns by targeting specific newsletters to specific people in your list. Don’t just send them out to everyone without a thought of what they could be interested in. Remember, one email could make or break your list.
What You Need
-
An email service provider, preferably one that does CRM
– $199
-
A list
Setup Steps
-
Go through your list and your newsletters.
-
Make a list of segments that you want to create.
-
Identify the requirements that you would need from your email service and find the right one.
-
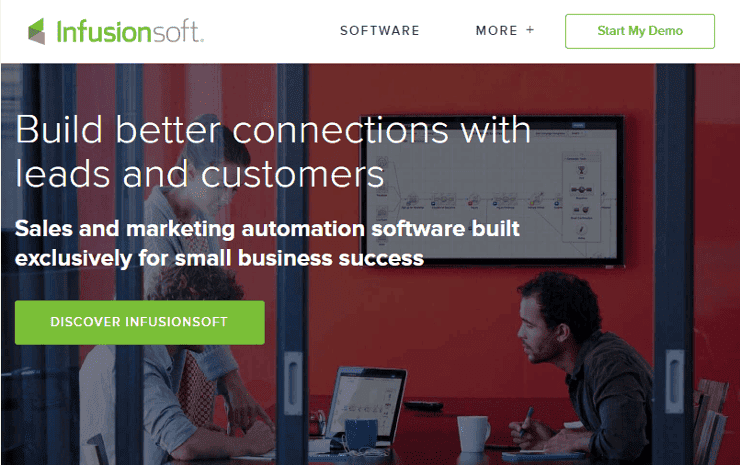
If you have a lot and plan to do a lot of campaigns, consider a platform like Infusionsoft.
-
Sign up.
-
Import your current list. Make sure the fields on your file and the one on your provider match.
-
Configure the permissions, especially the one enabling you to email them.
Start segmenting. If you’ve signed up for Infusionsoft, this is how you segment your list:
-
Go to CRM > Settings > Tags.
-
Click Add Tag and add a name, category, and description. You can add multiple tag names and assign them to one category.
-
If you have a list of tags already, click Import Tags.
-
Setup and finalize the parameters for each tag.
-
Click on the tag application link to review where your tags get applied to in a campaign.
-
Edit, delete or add categories by clicking Tag Categories.
-
You can also choose to view a contact and select a tag from a drop- down. Click Apply This Tag once you’re satisfied.
-
If you’ve created a sign up form campaign from your provider, configure the settings so that the new list you will get from there will also be segmented.
Timeframe
Time to do: 1 day
Time to see results: 1 week
Additional Tips
Identify and make your segments tighter with these 6 types:
Geographic- segment based on zip code, state, region, and other geographic markers
Demographic- based on age, gender, nationality, or occupation
Psychographic- based on personal values, hobbies, interests, and others
Buyer Behavior- based on buyer history
Influence Level- based by how they influence your company
Last Interaction- based on last interaction with your brand
Make tighter messages that target each of your segments.
Make your segments identifiable from one another.
The more specific your list is, the tighter your messages and campaigns can be.
Keep your lists clean and updated.
Potential Results
Segmenting your lists means an easier way for you to send targeted emails. This means less time trying to weed out a few names from a huge list, less opportunities to mess up and miss a couple of vital customers, and less worrying about your lists and more on what else you can do to improve your business. This is an even bigger opportunity since many customers from different email service providers have given testimonials of revenue growing by 566% and leads increasing by 450%.


