Entrepreneurs start a website because they want their business to be visible to more people. Some do it in order to have a place to sell their products. But most people seem to overlook the fact that starting a website could be the business itself. By having a membership, there are many ways that your carefully constructed website could be the only business you’ll need.
There are many reasons for you to have a membership. You’re either selling an online, providing gated or drip fed content, offering a community of prestigious or like- minded people, and the like. While paid membership is the way to go, these sites usually offer free membership to give users a taste and encourage people to pay for the membership.
But before you think about how you can get people to sign up, you’ll need an actual site for people to sign up to. And if you’re not experienced or knowledgable in building websites, how are you going to do it? The expensive and common route would be to hire a developer. But by purchasing a license from a membership software that’s meant for a user- friendly site like WordPress, you’re good to go.
What You Need
-
WordPress site
-
Membership software
Setup Steps
-
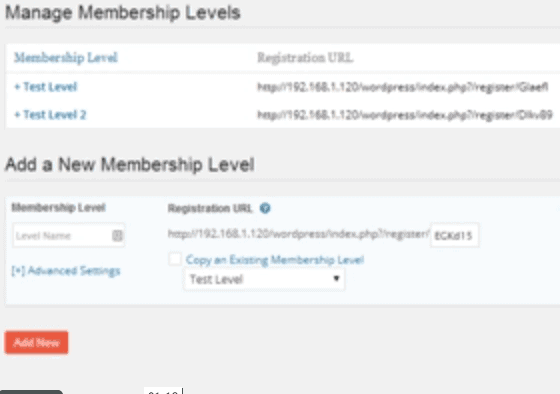
On your WordPress dashboard, click Settings > Setup Wizard and create a Membership Level > Enter the membership level name. To add more levels, click Add another membership level > Click Next.
-
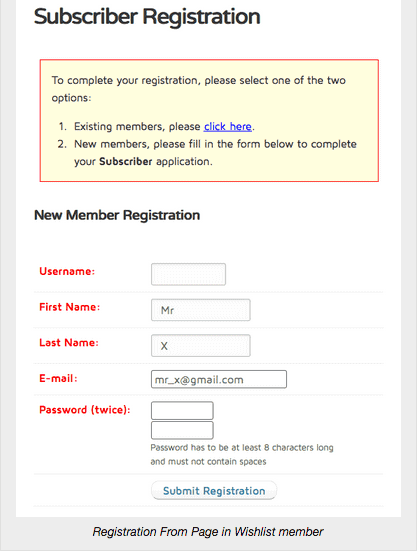
Select an after registration page to use or have Wishlist create it for you.
-
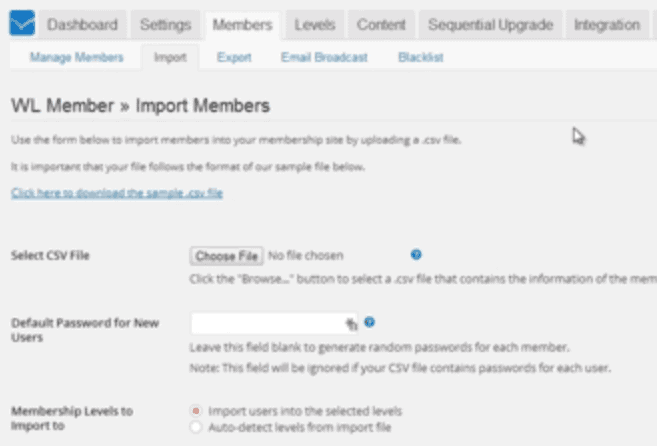
To import existing members, go to WL Member > Import Members > Upload your .csv file > Choose the membership level the list will be imported to > Click Import Members.
-
Create content for your site by clicking Pages and creating a new page or post.
-
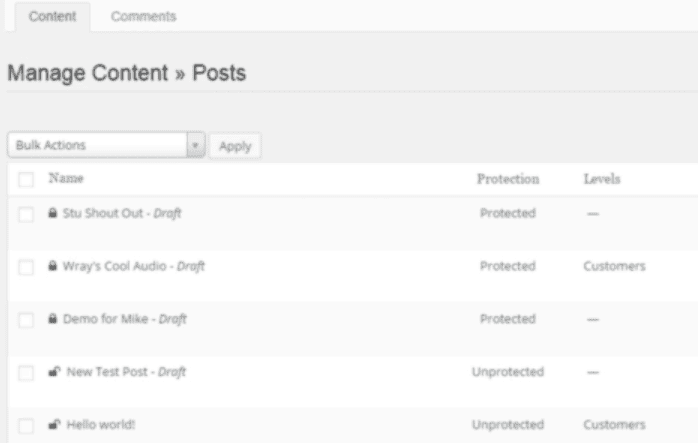
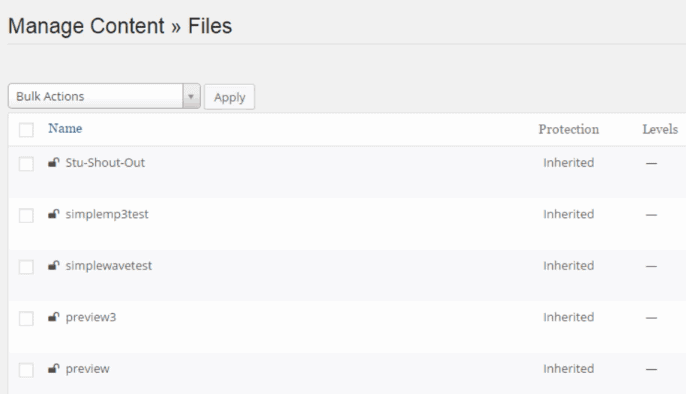
Customize posts to be protected by going to the Wishlist Member Dashboard > Content > Manage Content > Posts > Click the post that you want to protect > Choose Protected > Click the dropdown and select Add Level > Enter the levels allowed to access the content > Click Apply.
-
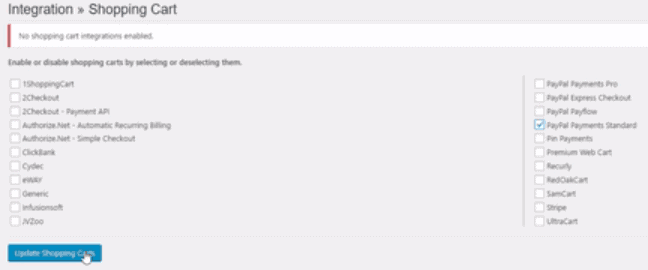
Setup your pricing strategy by going to Integration > Shopping Cart > Follow the prompts.
-
Figure out what type of membership site you will be offering.
-
Come up with a marketing strategy. If you’re selling online courses, outline your curriculum.
-
Decide on a pricing scheme.
-
Find a service to use. WishList Member is one of the most commonly used platforms that’s powerful but still easy to use.
-
Purchase a plan.
-
Get WordPress.
Marketing Setup
-
Set up online events like webinars, live talks, interviews, and hangouts to get to know your members and talk about your site more.
-
Offer up some freebies like e-books, strategies, and parts of your course and content.
-
Tease them with a free trial membership.
-
Create teaser videos and demos to encourage people to either sign up or upgrade their membership.
-
Use SEO to drive traffic and increase your site’s rankings.
-
Connect your social media networks and promote your site from there. You can also feature relevant YouTube videos you’ve made on your site.
-
Be smart about your email list.
-
Setup banner ads and sell ad space.
-
Do affiliate marketing.
Timeframe
Time to do: 1 day
Time to see results: 1 month
Additional Tips
Distribute majority of your content freely to generate organic search engine traffic to your site.
Make your free content a valuable source of information that people can refer to.
Consider implementing Google’s First Click Free for Web Search that indexes all your restricted content and includes it in search results.
Create an easy registration form with great copy and a strong call to action.
Write personalized follow-up emails to encourage users to complete their registration or update their membership.
Offer a free trial instead of a money back guarantee.
Focus on making your subscription easy and effortless.
Potential Results
Offering a $30 a month membership and getting 100 members in the first month will get you $3,000 just from that very first month. That’s a steady $3,000 stream of income coming your way every month. Think of how much more you could earn by getting more members. Do your research and build loyalty with your members to keep and continually increase what you can generate every month for yourself.


