Emails have been here since the early 90s and its here to stay. Other software and tools have come and gone but till now, email marketing is still one of the things we make sure to have in our arsenal of marketing methods.
Companies send out newsletters that keep customers informed about new products, promosand updates. This also entices site visitors and users to sign up and allows for a more accurate list of your custoemrs. Make use of an email service that aims to help you improve your platform with notable analytical features and technology tools good for business.
What You Need
-
Account with email service provider
Setup Steps
-
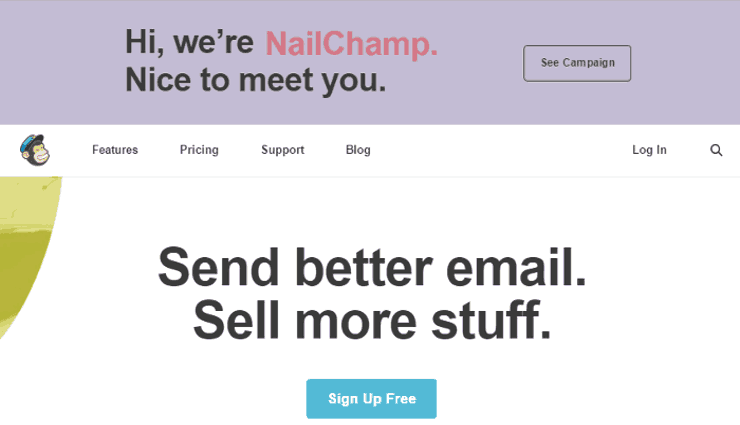
Go to MailChimp.com and click Sign Up Free.
-
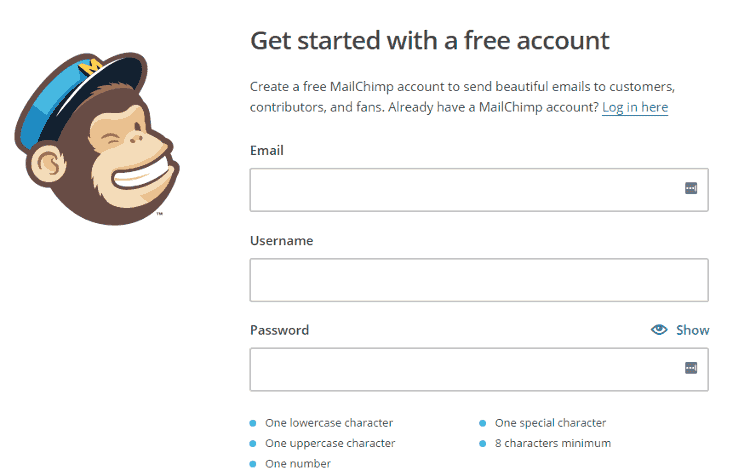
Enter the required details.
-
By entering your website address, MailChimp visits it and creates a color palette for your newsletter. Click Save and Get Started when you’re done.
Build your list.
-
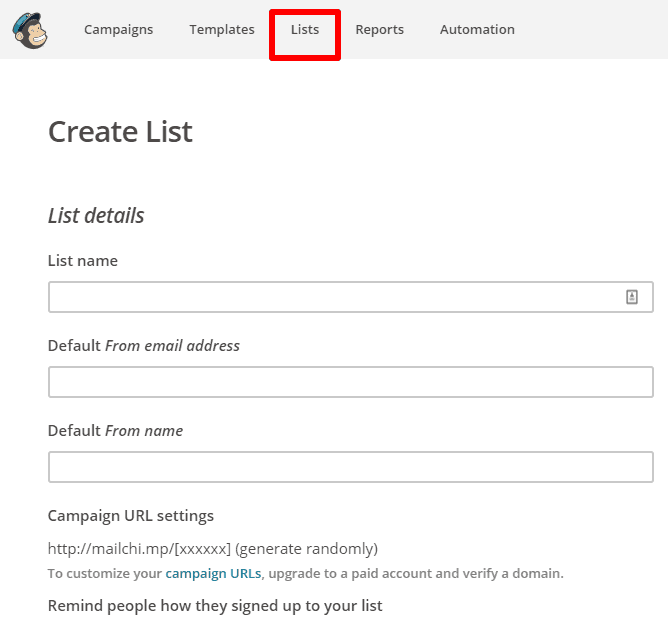
Click List from the dashboard then Create List > Enter the required information like List Name, Default from E-mail address, Default From Name, and others.
-
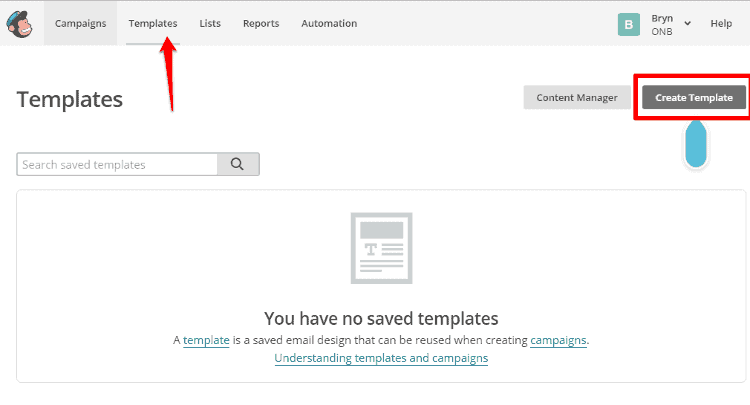
On the dashboard, click Templates > Create Template > Choose a layout or add the elements you want to put in your form.
-
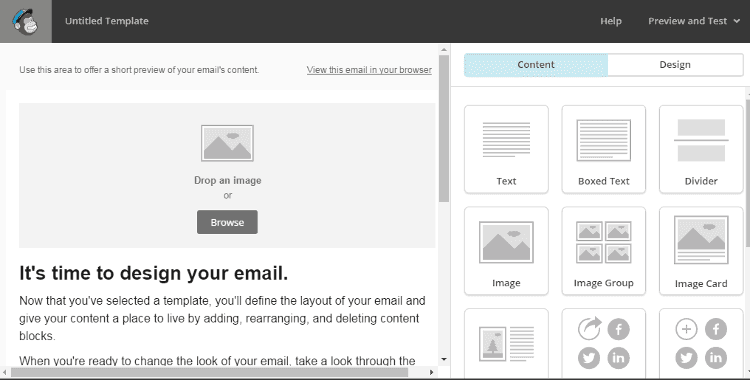
Click on the placeholders to change, add, or delete elements in your design. Then customize the options that appear on the right panel. Drag and drop more elements like boxed text, images, social share, footer, button, and the like.
Create and send your newsletter.
-
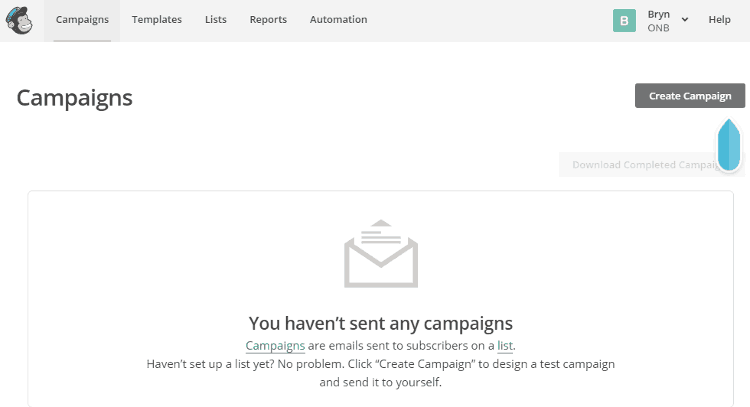
From the dashboard, go to Campaigns and click Create Campaign.
-
Type a the Campaign Name > Choose the Campaign Type
-
Enter the email subject, From name, and From email address. Customize the other available settings like tracking tools, connect social media, and more advanced settings then click Next.
-
Review the Campaign Checklist, click Resolve to fix errors. Click Edit if you want to go back and make changes. Click Send Now on thePrepare for launch popup.
Add your subscription sign up form to your WordPress site.
-
Before starting on your WordPress.org site, find your API key on MailChimp by clicking the drop down on your account name > Account > Extras > API keys. You can copy an existing one or click Create a Key.
-
On your WordPress.org site, install a signup form plugin by going to Plugins > Add New. Scroll or search for MailChimp List Subscriber Form and click Install Now. Click Activate Plugin and then go to Plugins > Settings under MailChimp. Paste your MailChimp API key into the given field and click Connect.
-
Click Select a List then choose the MailChimp list you want to connect to. Click Update List. You’ll be taken to the Setup page for you to enter and configure: Content Options, Remove CSS, Custom Styling, List Options, Merge Fields Included, Group Settings. Click Update Subscribe Form Settings.
-
Go to Appearance > Widgets. Drag the MailChimp Widget where you want it to go and click Save.
Find your service provider.
-
Make a list of your needs and requirements from your future email service provider.
-
Go to forums, social media sites, and people you trust for some recommendations.
-
Do research on the ones recommended to you. Consider MailChimp, one of the most well- known and popular email service providers.
Timeframe
Time to do: 1 day
Time to see results: 1 week
Additional Tips
Give visitors an incentive to sign up. Increase brand identity and recall by adding your logo and incorporating your brand colors. Make sure your contact details and social media accounts are always present on your newsletters. Personalize your subject line and content. Write relevant content. Check your campaign’s progress on the Reports tab. Make use of the marketing automation and create emails that you can drip feed your subscribers depending on a particular action they’ve done. Track your progress with MailChimp reports
Potential Results
With proper use and strategically sent newsletters, you could build and multiply your subscriber list as well as your revenue. You could go from having 600 subscribers and $500 income per month to double that amount after a month of proper marketing and well-made newsletters. If you have great products then you could very well get more.


